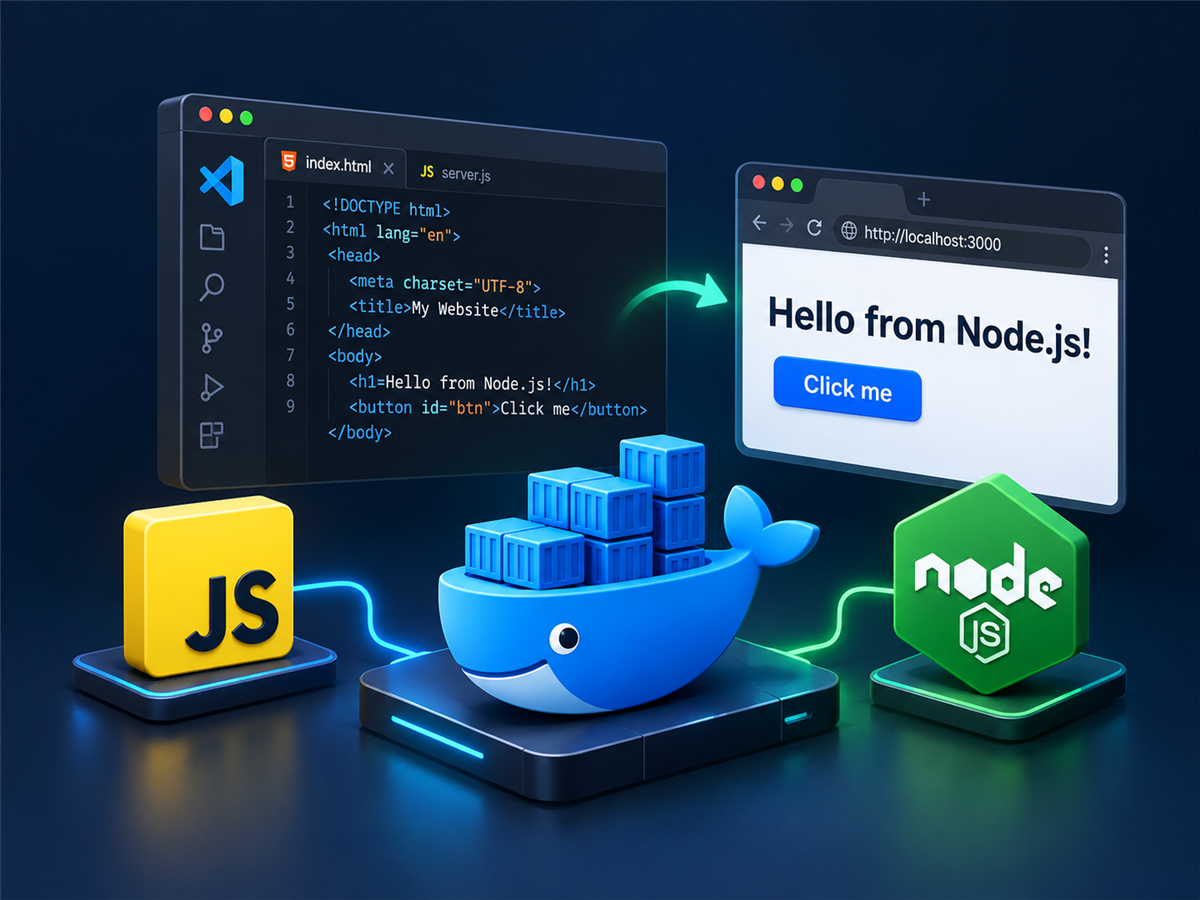

I’ve been putting a few things together: a simple HTML page, a JavaScript button, a Node.js web server, and Docker Compose. In this tutorial, I’ll walk through how I got them working together.
I’m still learning Node.js, so this is me documenting the process as I go. If you’ve created a webpage before but haven’t tried serving it from a container, follow along with me.
Before getting started
I’m using VS Code, a browser, and Docker with Docker Compose installed and running. Docker will provide Node.js inside the container, so you don’t need to install Node.js separately to follow these steps. The Docker installation guide is a good place to start if you need Docker.
Create a new folder for this tutorial and open it in VS Code. All five files will go in that folder:
simple-website/
  index.html
  script.js
  server.js
  Dockerfile
  compose.yaml
1. Creating the HTML file
First, I create a file called index.html.
Here’s a handy shortcut in VS Code: in the empty HTML file, type ! and press Tab to generate the HTML boilerplate. This uses Emmet, which expands short abbreviations into HTML. If Tab doesn’t expand it, select the Emmet suggestion or run Emmet: Expand Abbreviation from the Command Palette. You can read more in the Emmet documentation.
I add a heading, a button, and a reference to my JavaScript file. Here’s the complete HTML:
<!DOCTYPE html>
<html lang="en">
<head>
    <meta charset="UTF-8">
    <meta name="viewport" content="width=device-width, initial-scale=1.0">
    <title>My Simple Website</title>
</head>
<body>
    <h1>Hello from my simple website!</h1>
    <button type="button" onclick="showMessage()">Click me</button>
    <script src="script.js"></script>
</body>
</html>
The onclick tells the browser to call showMessage() when I click the button. The script element loads the file where I’ll write that function.
2. Adding JavaScript
Next, I create script.js in the same folder:
function showMessage() {
    alert('Hello! This JavaScript is running in your browser.');
}
That’s all I need for this button. Clicking it displays an alert box.
This JavaScript runs in the browser. Later, Node.js will send this file to the browser, but the browser is what runs the function and displays the alert.
3. Creating a Node.js web server
Now I need something to send those files to the browser. For this project, I’m using Node.js.
I adapted the starting server example from the official introduction to Node.js. I’m still learning this part and didn’t create the server implementation from scratch. The documentation’s example sends back a short message; this version adds file reading so it can serve our HTML and JavaScript.
I create server.js with this complete code:
const http = require('node:http');
const fs = require('node:fs');

const hostname = '0.0.0.0';
const port = 80;

const server = http.createServer((req, res) => {
    let filename;
    let contentType;

    if (req.url === '/' || req.url === '/index.html') {
        filename = 'index.html';
        contentType = 'text/html; charset=utf-8';
    } else if (req.url === '/script.js') {
        filename = 'script.js';
        contentType = 'text/javascript; charset=utf-8';
    } else {
        res.writeHead(404, { 'Content-Type': 'text/plain; charset=utf-8' });
        res.end('Not found');
        return;
    }

    fs.readFile(`${__dirname}/${filename}`, (err, contents) => {
        if (err) {
            res.writeHead(500, { 'Content-Type': 'text/plain; charset=utf-8' });
            res.end('Unable to read the file');
            return;
        }

        res.writeHead(200, { 'Content-Type': contentType });
        res.end(contents);
    });
});

server.listen(port, hostname, () => {
    console.log(`Server listening on http://${hostname}:${port}`);
});
Here’s how I understand the pieces:
require()loads Node.js’s built-in modules.httphandles web requests, andfsreads files.http.createServer()sets up a function to handle each request.reqcontains the request, andresis how I send a response.- The URL checks choose between our two files. Anything else gets a
404, which means it wasn’t found. fs.readFile()reads the selected file from the folder containingserver.js. Its callback runs when the read finishes. If reading fails, I send a500error response.Content-Typetells the browser whether the response is HTML or JavaScript.200means success, andres.end(contents)sends the file and finishes the response.server.listen()starts listening on port80. Using0.0.0.0lets the server accept connections through the container’s network interface, which we’ll need for Docker’s port mapping.
This is a minimal learning example, not a production-ready static file server. It deliberately serves only these two files and doesn’t handle things like URLs with query strings.
4. Creating the Dockerfile
Next, I create a file named Dockerfile, with no file extension:
FROM node:26-alpine

WORKDIR /app

COPY . .

CMD ["node", "server.js"]
Each instruction has a small job:
FROM node:26-alpinestarts with a Node.js 26 image based on Alpine Linux.WORKDIR /appsets the working folder inside the image.COPY . .copies the files from the build context into that working folder.CMD ["node", "server.js"]sets the command that starts our server when the container runs.
The image gives me an environment with Node.js already included. I can then run a container from that image. The Dockerfile reference explains these instructions in more detail.
5. Creating Docker Compose
I create compose.yaml alongside the other files:
services:
  web:
    build: .
    ports:
      - "8080:80"
    volumes:
      - .:/app
Here’s what I’m configuring:
serviceslists the application’s services. I have one, namedweb.build: .tells Compose to build using the current folder and its Dockerfile.portsconnects port8080on my computer to port80inside the container, where the Node.js server listens.volumessets up a bind mount:.is my local project folder, and/appis where it appears inside the container.
You can find more about these settings in the Compose services documentation.
The bind mount is especially useful while I’m learning. The container sees my local files at /app, covering the copy placed there during the image build. When I save changes to HTML or JavaScript, the server reads those updated files on the next request. I can refresh the browser without rebuilding the image.
That doesn’t automatically restart Node.js if I edit server.js. For this example, I’m changing the HTML and browser JavaScript. Docker’s bind mount documentation explains how the shared folder works.
6. Running the application
With Docker running, I open a terminal in the tutorial folder and run:
docker compose up --build
Compose builds the image, creates the container, and starts the server. This command stays attached to the application output. The first build may take a little longer while Docker downloads the base image. See the Compose up documentation for the command options.
Once I see the server’s listening message, I open http://localhost:8080. Port 8080 needs to be available on my computer.
I should see the heading and Click me button. Clicking the button displays the alert from script.js.
Making a change
While the container is running, I change the heading in index.html to:
<h1>I updated this page without rebuilding the image!</h1>
I save the file and refresh the browser. The new heading appears because of the bind mount. I can also change the alert text in script.js, save, refresh, and click again. If the browser keeps an old copy, a hard refresh can help.
Checking the Node.js version
In a second terminal, in the same tutorial folder, I run:
docker compose exec web node --version
This runs node --version inside the running web service. It shows the Node.js version in the container, which should start with v26. for this image. I don’t need a local Node.js installation to check it.
Stopping everything
When I’m finished, I run this from the second terminal in the same folder:
docker compose down
This stops and removes the Compose container and its network. My project files stay in my local folder. The Compose down documentation covers what the command removes.
7. What I learned
The biggest thing for me was separating the two places JavaScript runs. script.js runs in the browser and handles the button click. server.js runs in Node.js inside the container and sends files back to the browser.
Docker provides the environment where the server runs, including Node.js. Compose puts the build instructions, port mapping, and bind mount settings in one file so I can start the project with one command.
It’s a small website, but putting these pieces together helped me understand how a browser gets a page from a server, and how I can keep editing that page while the server runs in Docker.